
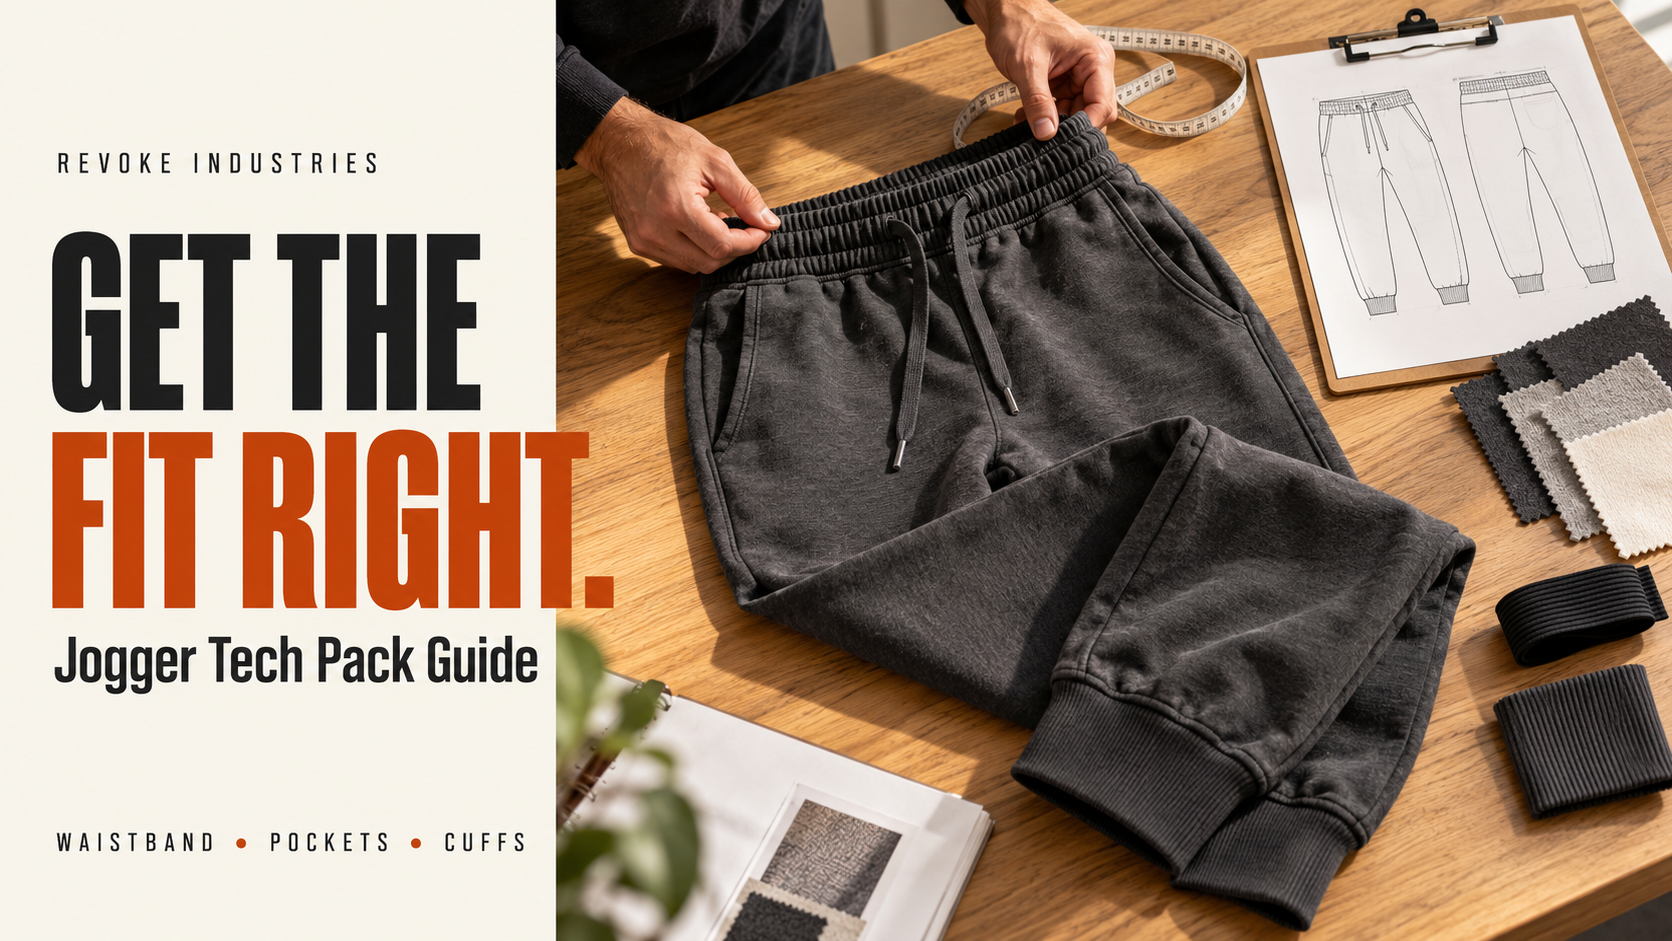
Your jogger mockup looks ready for a streetwear collection. The first sample arrives with the right color and logo, but the waistband feels tight, the pockets are shallow, and the legs taper more than expected.
The manufacturer needs more than a front-view illustration to resolve those details.
A jogger tech pack gives your US clothing brand a shared reference for developing the garment with a supplier. It connects the intended appearance to measurable requirements, component choices, and sample feedback.
A jogger tech pack should include technical drawings, fabric and trim specifications, garment measurements, waistband construction, pocket details, leg finishes, artwork placement, and revision records. Define how each measurement is taken and identify decisions that still require development before production approval.
What makes a jogger tech pack different?
Joggers require you to describe how the waist, seat, rise, and legs work together. A narrow ankle opening alone does not define the whole fit. An elastic waist also needs more explanation than one number labeled “waist.”
Techpacker’s tech pack overview identifies drawings, measurements, materials, and construction information as core elements. For joggers, apply those elements to the waistband, pockets, crotch area, leg shape, and cuffs.
If you are making a matching set, give the top and bottom separate style codes and specifications. Link them through shared fabric and color references. Our hoodie tech pack guide covers the top half of the set.
1. Describe the silhouette before adding measurements
Explain where the waistband should sit, how much room you want through the seat and thigh, and how the leg should narrow toward the ankle. State whether the length is cropped, ankle-length, or intended to gather above the cuff.
Use annotated references for individual features. For example: “Photo A shows the thigh volume; Photo B shows the pocket opening; Photo C shows the ankle finish.” This helps prevent one inspiration image from becoming an instruction for every detail.
Keep front and back drawings consistent. Add close-up views for the waistband, drawcord exits, pockets, seams, and cuff attachment. If you do not know the appropriate construction, ask the manufacturer or technical designer to propose it for approval.
Describe the intended wearer and use. A relaxed lounge jogger and a closer-fitting training style can require different development decisions even when both have elastic waists.
2. Specify the fabric and each supporting component
Record the main fabric’s composition, construction, target weight, finish, and color reference. Attach an approved swatch reference when available. Words such as “premium” or “heavyweight” leave too much open on their own.
List pocketing, waistband elastic, drawcord, cuffs, labels, and closures separately. Do not assume each component uses the same material as the main garment.
| Component | Details for your tech pack |
|---|---|
| Main fabric | Composition, knit or weave, target weight, finish, color, and swatch reference. |
| Waistband | Finished height, casing or assembly details, elastic specification, and visible stitching. |
| Drawcord | Material, shape, width, color, length definition, end finish, and exit locations. |
| Pockets | Opening shape, bag dimensions, pocketing material, placement, and closure details. |
| Ankle finish | Rib cuff, elastic casing, or other finish; material and finished dimensions. |
| Labels and decoration | Approved files, material or technique, dimensions, colors, and placement references. |
If you are choosing between loopback and brushed fabrics, use our French terry vs fleece guide as background, then evaluate the proposed material in your jogger sample. Our GSM guide explains how to communicate fabric weight.
3. Make the jogger measurement chart repeatable
Assign each point of measurement a code that matches an arrow on your drawing. State the units, start and end points, garment position, and whether the dimension is a flat width or a circumference.
Techpacker’s measurement-table documentation describes recording points of measurement, size specifications, and tolerances. For your own chart, agree on tolerances with the team developing and manufacturing the garment.
| Measurement | What your method should clarify |
|---|---|
| Relaxed waist | The measurement line and garment position, with the waistband unstretched and drawcord untightened. |
| Stretched waist | The agreed extension or force endpoint and measurement method; avoid “pull as hard as possible.” |
| Hip or seat width | The exact distance below the waistband and the horizontal measurement line. |
| Front and back rise | The seam route and endpoints, including whether the waistband height is included. |
| Thigh and knee widths | The reference positions along the leg and measurement direction at each point. |
| Inseam and outside length | The start and end points, measurement route, and whether cuffs or waistband are included. |
| Leg opening and cuff | The finished opening width, cuff height, and whether measurements are relaxed or stretched. |
| Pockets | Opening length, bag depth and width, and placement from defined garment landmarks. |
Proper Cloth’s pants measurement guide illustrates why rise, inseam, and leg widths need defined routes and positions. Its methods concern its own trousers; agree on methods appropriate to your elastic-waist joggers rather than copying another brand’s specification unchanged.
A customer’s body-waist measurement is not automatically the same as the garment’s relaxed waistband measurement. Keep your customer sizing information separate from the manufacturing specification. See our clothing size chart guide for more on that distinction.
4. Resolve waistband comfort and function
Specify whether the elastic is enclosed, how it is secured, and which stitching should appear on the outside. Ask to review the proposed elastic in the actual waistband assembly.
During fitting, check how the wearer pulls the joggers on, how the waist feels while sitting, and whether the waistband stays in the intended position. Record rolling, twisting, or pressure concerns rather than approving the waist from appearance alone.
For the drawcord, define what its length means: total cut length, finished length, or exposed ends under a stated condition. Mark whether it exits inside or outside the waistband and show the hole positions.
Example development note: “External flat drawcord with finished ends as shown. Manufacturer to propose waistband elastic and attachment method. Review comfort, appearance, and twisting during sample fitting.” This is a request for development, not a completed production specification.
5. Check pockets with their intended contents
Define pocket openings and bags separately. A pocket can have an attractive opening while its internal shape is unsuitable for the item you expect it to carry.
If phone storage matters, identify the reference phone or object used for the fit check. Review access while standing and sitting, how the pocket hangs, and whether the opening gaps under that load.
For zip pockets, specify the opening length, zipper reference, puller, and surrounding construction. For rear pockets, show the placement and closure, if any. Photograph problems on the sample and link each comment to the relevant drawing.
6. Define cuffs, decoration, and matching-set details
Choose the ankle finish deliberately. A rib cuff and an elastic casing are different assemblies, so show the intended result and component requirements. Review whether the opening is comfortable to pass over the foot and how it sits during movement.
For logos, provide artwork files, decoration method, dimensions, color references, and placement measured from defined landmarks. “Logo on left thigh” leaves the exact location unresolved; also specify whether left means the wearer’s left.
When pairing joggers with a hoodie, review the garments together for color and finish consistency. Keep any approved differences explicit. A shared color name alone is not a physical approval reference.
7. Review the sample before and after care
Check the initial sample against the current tech pack, then evaluate movement: walking, sitting, bending, and activities relevant to the intended product. Record fit observations separately from measurements.
CottonWorks explains that dimensional change can affect fit, seams, and the relationship between garment components. Agree on care conditions, measurement procedures, and acceptance criteria before reviewing wash results.
Compare the relevant measurements and appearance before and after the agreed care procedure. Note leg twisting, cuff changes, waistband behavior, and decoration changes. Identify washed samples separately from unwashed references.
Consolidate revisions into one dated document. Update the specification when the approved design changes, and use a clear pre-production sample approval record before releasing bulk work.
What should you send with your jogger tech pack?
Send the current PDF, separate production artwork, identified references, quantities by color and size, and your delivery destination. List open decisions so the manufacturer can quote development work separately where needed.
Style: [Jogger name and code]
Fit and sample size: [Describe]
Tech pack version: [Date or revision]
Materials: [Approved references and unresolved choices]
Priority checks: [Waistband, rise, pockets, leg shape, cuffs]
Requested response: Please confirm missing information, proposed substitutions, sample charges, and the estimated development schedule.
Use our clothing manufacturing quote guide to prepare a comparable pricing request.
Frequently asked questions
Can I use a generic jogger tech pack template?
Yes, as a starting structure. Replace its drawings, materials, measurements, and construction notes with your own requirements. Do not treat template measurements as an approved fit for your brand.
Is one waist measurement enough for elastic-waist joggers?
Document the relaxed waist and any required stretched measurement with clear methods. Confirm waistband comfort and function in the sample; the measurement chart alone does not describe how it feels on the wearer.
What GSM should I choose for joggers?
Choose material against your intended use, feel, structure, and care requirements. Compare actual swatches and garment samples. GSM describes weight per area, so it should be considered alongside composition, construction, and finish.
Can the same tech pack cover every size?
One document can include the full size range, but each size needs its relevant specifications. Agree on grading and size-set checks; do not increase every dimension by the same amount without technical review.
Can a manufacturer help if I only have a jogger sketch?
You can request development support. Explain which drawings, patterns, measurements, and material decisions are missing, then confirm the scope, charges, and deliverables before sampling starts.
Develop your next jogger style
Send Revoke Industries your design references, intended fit, fabric requirements, size range, and target quantity. Include the details you need help developing so your sample request can be discussed clearly.
Sources: Techpacker’s tech pack and measurement-table guidance, Proper Cloth’s pants measurement guide, and CottonWorks’ shrinkage guidance, linked above. The jogger checklists and sample brief are editorial tools to adapt with your technical designer and manufacturer.



Add comment